


So you bought a Showit website template on Black Friday it looked beautiful and relatively easy to customize but now it’s been a few weeks and you still have “website coming soon” in your Instagram bio.
First of all, I just want to say this is so completely normal. I think as women we want to do it all. It may have felt like a big purchase to buy that template. I’m sure it was a marital discussion and you want to do it all and prove it to yourself, your husband, your family, your friends that you can do the dang thing, that you can launch your own website and grow this business that means so much to you.
So, today I want to come alongside you and give you a few tips and tricks for customizing your Showit website template.
As a web designer, the first thing I do when starting a new website project is create a sitemap. I personally do this in Figma, which is free, but you could even just use a pen and paper.
I map out each page of the website and each section on those pages, as well as where they link to.
This helps me get strategic and really think through the user experience before ever touching the design.
With a website template, you’re not starting with a blank screen, but you should know the skeleton of your website and how you want it to operate, regardless of the template’s pages or layout.
You should have an idea of how someone will experience your website from their first impression to that last call to action. Once I’ve made the website sitemap, it’s time to move over to Showit and set up the design file.
Within ShowIt, I set up the brand colors, brand fonts, and named the project. Something to note with brand colors, and this is sort of an industry standard, you set your darkest tone as color one and then gradually go lighter from there.
Something else that may help you is to try and match the tone or the saturation of your brand colors with the template’s existing color scheme. So for example, if the template has a nice sage green accent color for five and your brand has a nice light blue accent color, I’d swap the sage green for the light blue. This will prevent you from having to customize too much later on. The color scheme that you set up will automatically change all of the colors across your template. So that’s why it’s best to try to match the existing template color palette with your own. You don’t want to replace their darkest color with white. It would essentially ruin the design and make it really tricky to edit later. It isn’t impossible to fix, it just makes it a lot harder. The type styles, they operate the same way, so whatever you update will change across your whole website. There are recommendations and minimums for accessibility. Generally, you don’t want to go below a 14-point font.
After that, you’re going to set up your button styles. Showit gives you a primary and a secondary style. I like to do one as a solid color and then the other one as an outline usually you want to customize the hover state as well something to note here is you’re not going to have a hover state on mobile this will show up in the preview but just from a user experience standpoint you can’t hover over a button on mobile since you’re just using your finger to navigate the website. I typically do the same color as the primary or secondary style and then just do a 75% opacity to give it that hover effect.
Another part of just prepping and getting set up is gathering all of your brand images and curating stock photos where it’s necessary. I use TinyPNG (**I’m now using RedKetchup to reduce my subscription costs**) to optimize images. This will help you with your load time and give a better client experience, which in turn helps your SEO.
Speaking of, I also rename all of my images once they are optimized. I will select all the images in the folder and then just bulk rename them with the business name and a keyword. So, for example, my website images will be renamed “Flourish Foundry Branding and Web Design” or some variation of that.

After that, I create a folder in the media library for the project and upload all of my optimized images there. You could utilize the folders in the media library in a few different ways. It could be helpful to create folders for each page of your website and then a separate folder for your branding assets, but this is something that you can organize later, too.
As a web designer, I handle multiple client projects from my account, so I just have a folder for each client, but my SEO specialist has created several folders for each page of my website, and then renamed the images with the keywords we’re targeting on those specific web pages, so that’s just a bonus option for you.
Once you’ve done these things it should be relatively simple to update your Showit website template.
Setting everything up properly may seem a bit tedious, but it will make it easier in the long run.
At this point, your template should have your brand colors and your brand fonts instead of what you purchased it with.
Let’s talk a little bit about the navigation of your website. Showit has an awesome feature that lets you create groups of canvases and select which pages they’ll appear on. They call them canvas sets. If your template already has this setup, that’s going to make your life so much easier. I use canvas sets to streamline the navigation menus. So I’ll customize the navigation pop-out menus in the footer and then just select what pages they’ll appear on, and that’s it. Super simple. Some websites have multiple navigation options, so the nav menu on the blog may look different than the nav on the home page. This is super easy to accomplish and keep consistent with canvas sets.
Other than that, you’ll just update the website copy with your brand’s copy and swap their photos for your photos. Since I’m a web designer, I typically go a bit above this and add in fun backgrounds, animations, etc. But this is really the basics of customizing a Showit template.
Fortunately, there are so, so many YouTube videos out there now to help guide you and answer your questions. Showit’s customer support is always super helpful, too. You can always pop into the chat and ask them questions.
If you’re feeling overwhelmed behind or just frustrated, that totally makes sense. As a business owner myself, there’s pieces of being a business owner that make me feel the same way. And that’s when I know it’s time to hire someone. For example, I could create all of my own reels for Instagram and I could manage my own SEO.
I know how to do these things, but handing it off builds momentum and makes it so much easier for me to move my business forward.
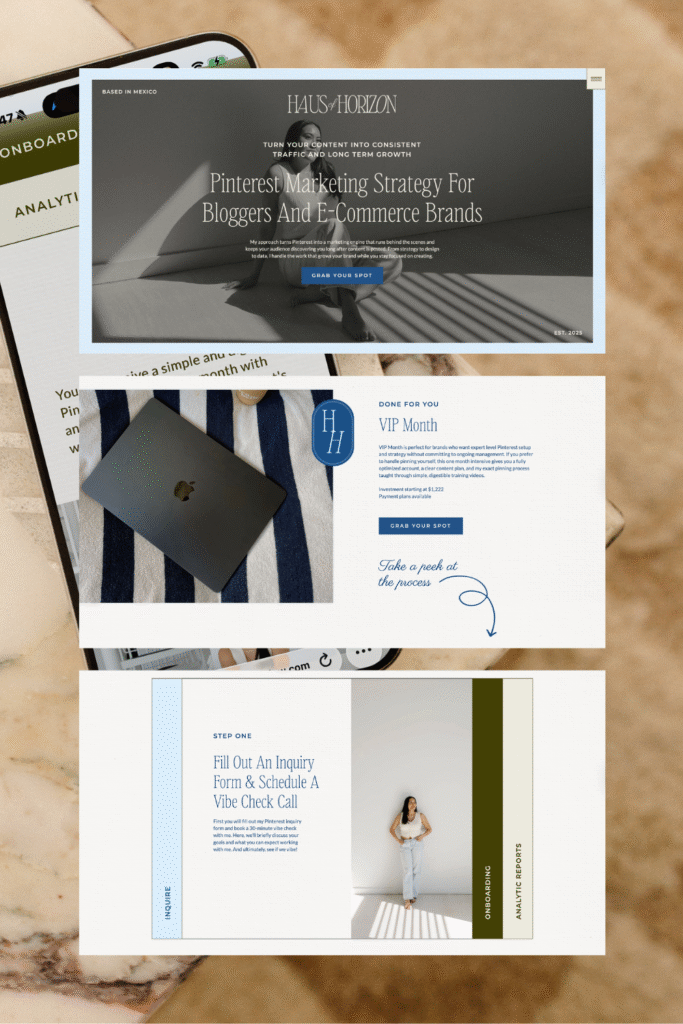
I do offer website template customization as a service.
It’s $1,500 for five pages customized.
I do all of the setup, all of the things we just talked about from optimizing your images to tweaking the website copy. I also give you a website copywriting guide to help you and it was written by a professional copywriter so it’s not just you and chat gpt at 11 p.m trying to avoid all those em dashes. I fully believe you’re capable of launching a DIY site. It’s more of a personal decision for how quickly you want to launch, scale, and grow your business.
With that, I’m going to leave you with five reflection prompts to think through before hiring a designer to customize your template
1. Think about the opportunity cost if you hand it over all of your website edits and all of the updates. What is the single biggest thing you could achieve with those extra hours?
2. Take an honest look at your current site and the updates that you’ve made to the template. Does it actually reflect the version of the business you’re running today or are you still showing up as a version of yourself from maybe two years ago?
3. Where is there friction in your customer’s journey? Are you losing out on sales or booking simply because you’ve hit a technical ceiling? You just don’t have the tools or know how to build the systems your business needs to scale.
4. Are you customizing this template using a brand identity that you love? Are your colors, your fonts, your voice, are they all there? Or are you actually looking for a creative partner to help you pull that identity out of your head and turn it into something strategic?
5. Can you truly trust an expert to take the wheel? Or are you still too attached to controlling each section of your website?
That is all I have for you today. I hope this episode gave you some clarity on your next step in editing your Showit website template, whether you feel empowered to keep editing it yourself, or now you know it’s time to hire a designer. I’ll see you in the show notes and chat soon.
Not ready to say goodbye? Me neither. Stay connected through Instagram and email.


